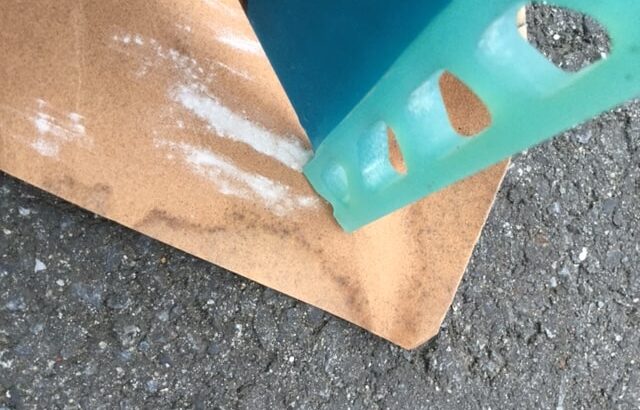
Don’t you feel nervous about putting a traction pad on your surfboard?
If you make a mistake, you cannot start over.
Various methods are published on the Internet.
Many of the methods use a pencil to mark the area around the traction pad.
However, even if you mark it with a pencil, it may shift when you apply it.
I devise a new method. I will publish it to everyone.
This method is probably not published on any site.
・You will be able to easily apply the traction pad in the correct position.
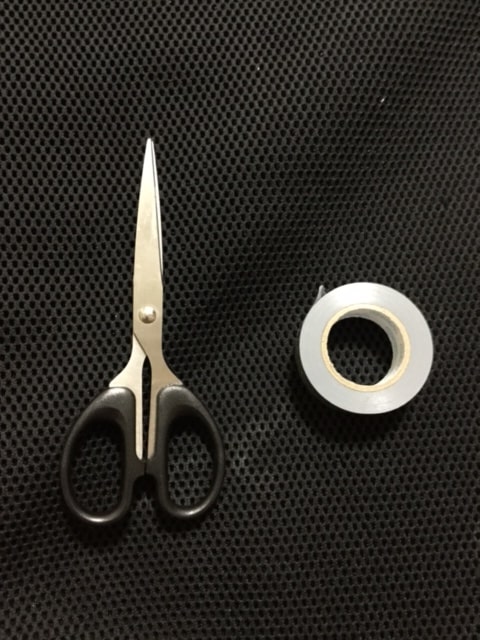
1.Please prepare scissors and tape.
The tape should be easy to peel off, such as vinyl tape or masking tape.
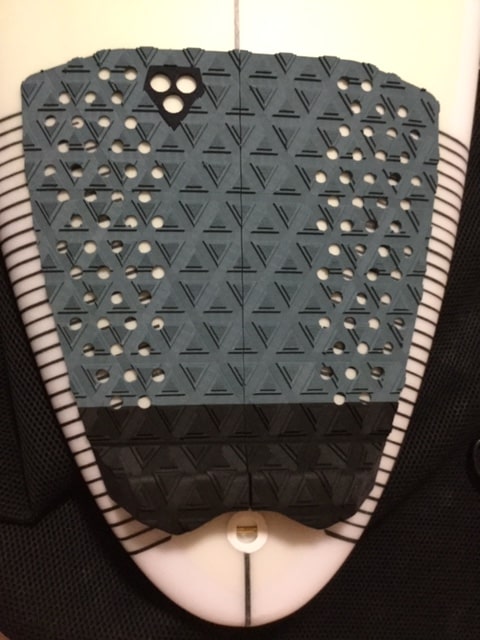
2.Place the traction pad on the tail to position it.
Move the traction pad little by little to position it. It depends on the design of
the surfboard, but in my case I put it very close to the leash cup.
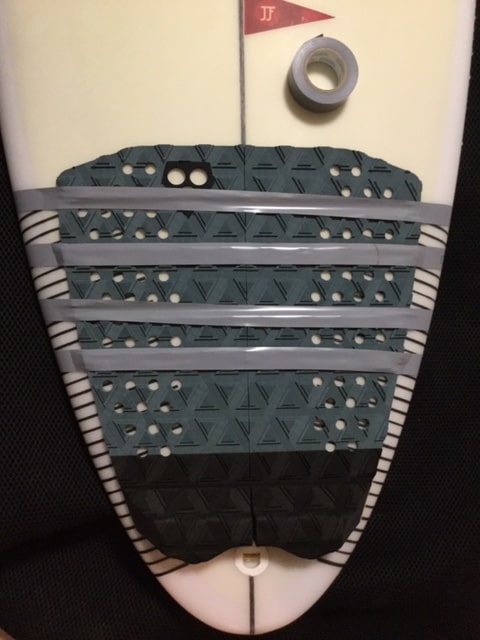
3.Secure the traction pad with tape.
Tape the upper half of the traction pad.
4.First, paste the tail part.
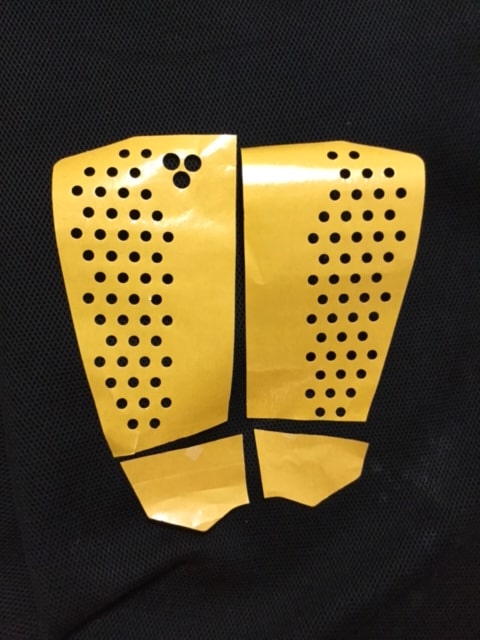
Turn over the tail part, peel off the paper, and cut the paper
with scissors.
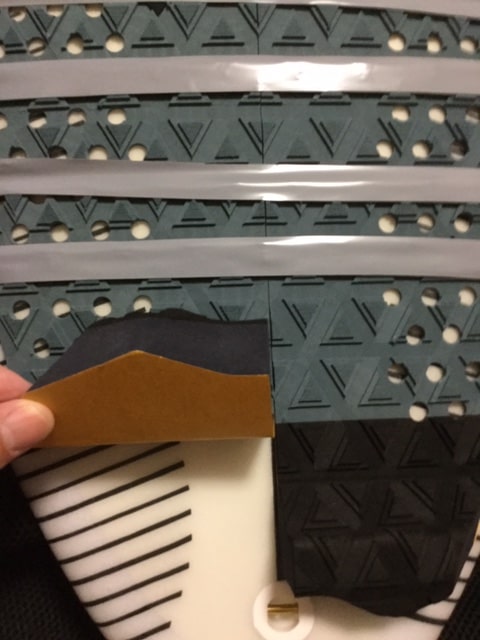
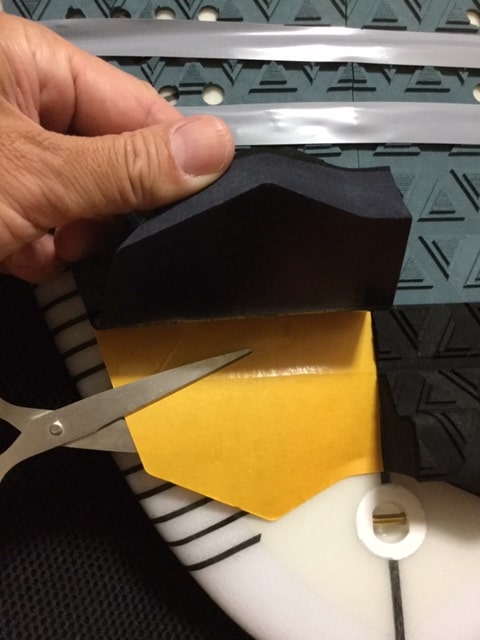
Press the tail part to crimp.
After pasting the left side, do the same for the right side.
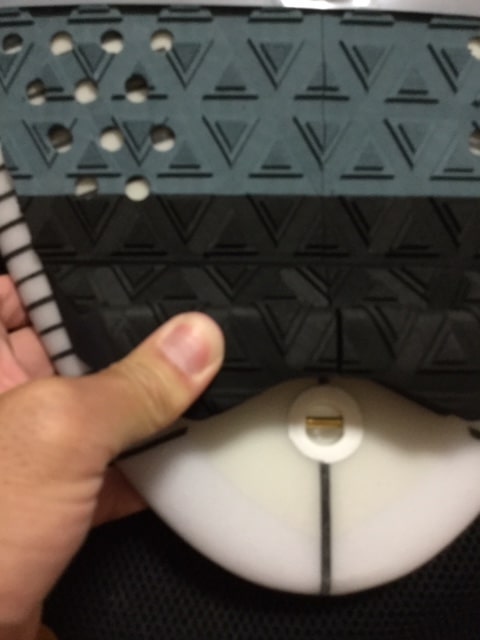
5. Peel off the tape
When you have finished pasting the tail, remove the tape.
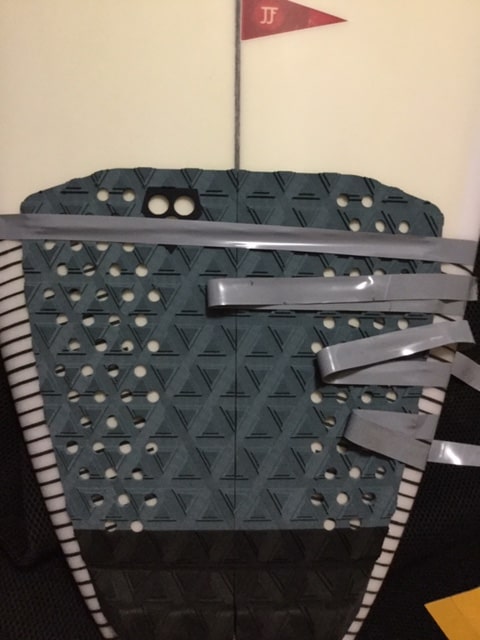
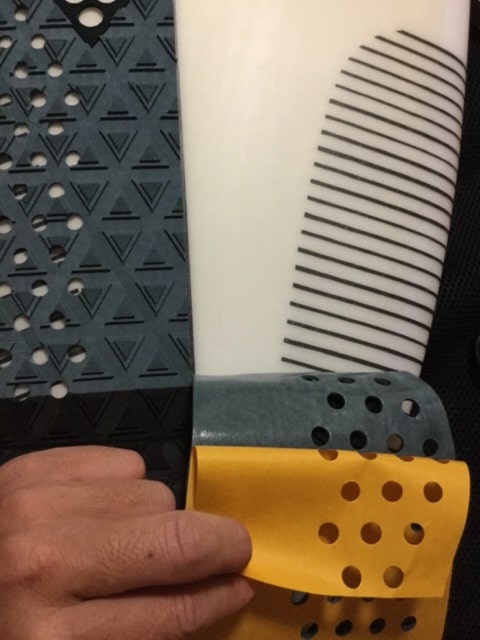
6.Paste the upper half
Flip the top half, peel off the paper, and attach the traction pad.
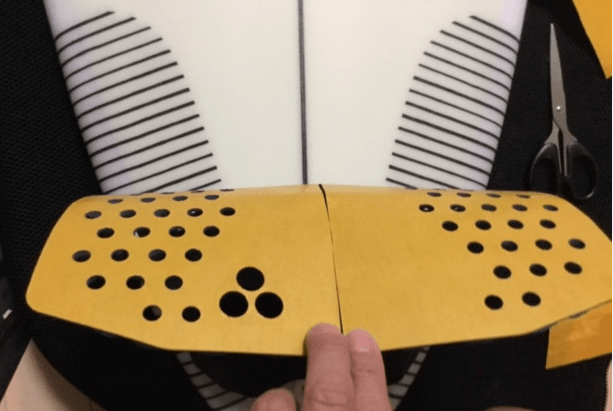
The tail part has already been pasted, so it’s easy to work with.
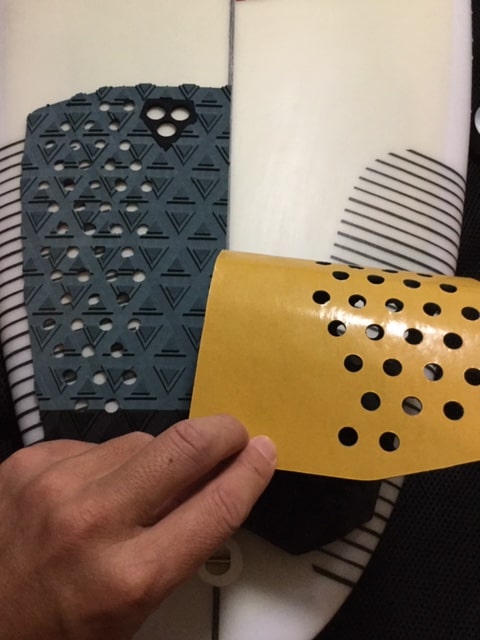
7.Pasting completed
I was able to paste it very neatly.
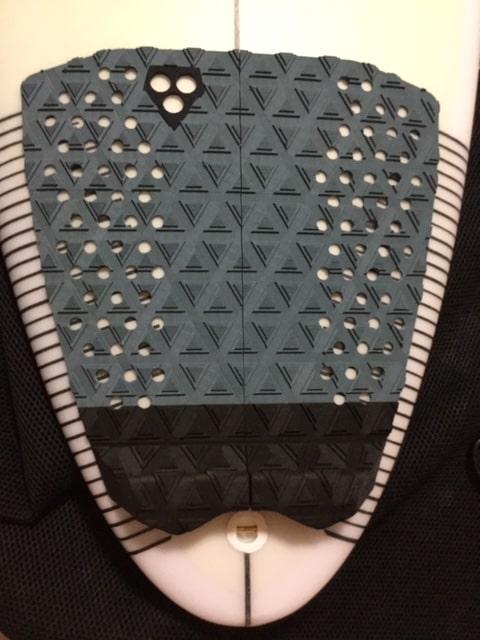
The paper looks like this because the paper is cut in the middle.
That’s the Wavalian style method.
How was it?
By fixing the traction pad with tape, it can be attached easily and accurately.
It’s a very good method, so please give it a try.
I hope this method will spread to the world.
Thank you for reading.
Views: 2377


